Description
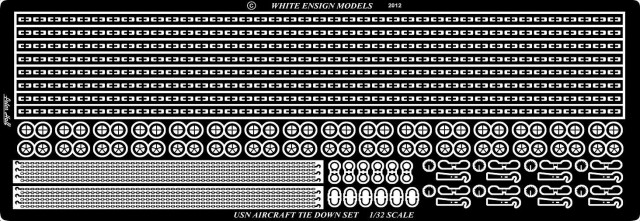
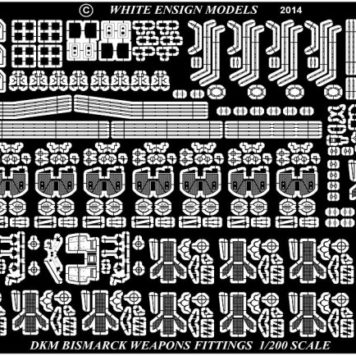
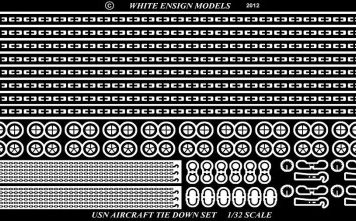
White Ensign Models 1/32 Carrier Deck Tie-Downs Photoetch Enhancement Parts
White Ensign Models 1/32 Carrier Deck Tie-Downs Photoetch Enhancement Parts
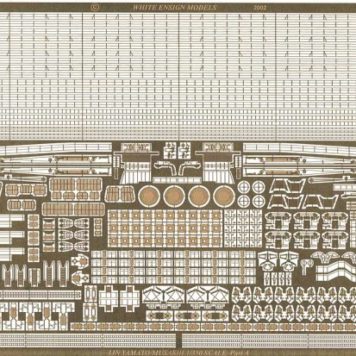
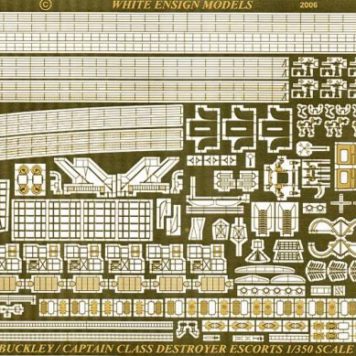
The White Ensign models Photoetch add-ons makes your model ship museum quality.
General instructions:
- Do not remove the etched parts from the fret until you are ready to use them.
- Before assembly, soak the etched parts in a suitable solvent, such as white spirit, to de-grease the surfaces for painting.
- Cyanoacrylate adhesive (super glue) or contact adhesive such as Elmers white glue may be used. These can be applied with a pin or piece of stretched sprue.
- When removing parts from the fret, place the fret on a hard surface, such as a smooth ceramic tile, in order to prevent parts bending whilst cutting through the holding
tabs. We suggest using a #11 type of modelling knife blade for this purpose. - When shaping or bending a part, a straight-edged blade such as a chisel blade #17 or # 18 will give a good sharp corner, or alternatively a small pair of smooth-jawed
pliers may be used. - If a part is bent incorrectly, lay it on a hard flat surface and roll it flat with a cylindrical object such as a modelling knife handle.
- We suggest that where stock lengths of rails are supplied, these are pre-measured before cutting, where practical, using a pair of compass dividers and then tacked
to the deck edge every third or fourth stanchion with a small drop of glue. When a section is complete, run a thin line of glue along the inside edge to attach it firmly to
the deck.
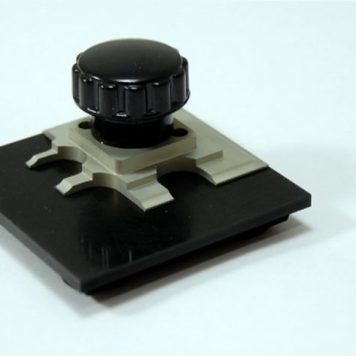
Accordingly, we suggest you purchase our Photoetch Bender Tools for easy assembly.


